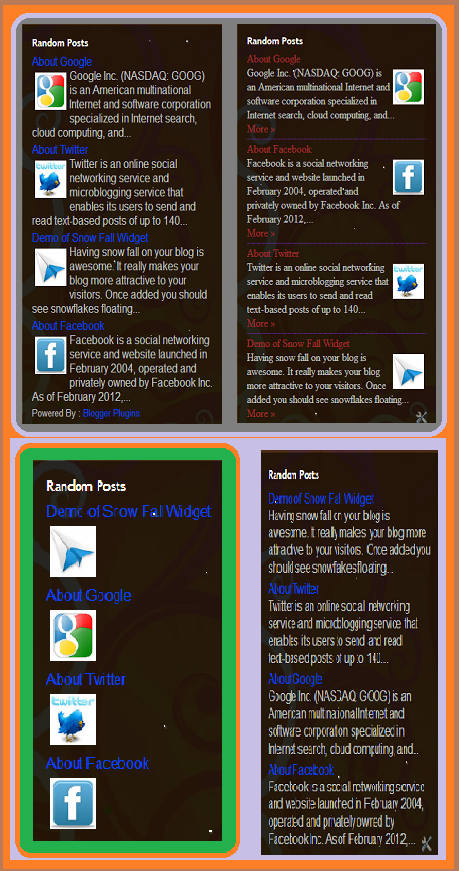
 Its a great widget for blog. Random Posts Widget which displays your blog's posts on your blogs' sidebar randomly so this widget really helps your readers to know all about your blogs contents. This widget really helps you to increase your blog post page view as it automatically displays your all posts randomly on your blog sidebar. and also you can add this widget easily on your blog.
<<--Some Preview of this Widget with Different Styles -->>

How to Add Random Posts Widget?
1. Click the below button
2. Choose the blog and click on CONFIGURE GADGET.
3. Now customize the widget.
4. Finally click on SAVE button.
Customization of Widget After Installation
- Go to Layout or Design ----> Page Elements in your Blogger Dashboard.
- Then open the Random Posts Widget and customize it and save it.
About Customization Options
Snippet Style – You can display the snippet with Post Summary, Post Thumbnail , or both or none.
Feed – The default Option “Summary Feed” will scan your post summary feed. This is the faster and efficient option and i would advise you to opt this one. If you choose “Full Feed” , the gadget will be slower but you will get YouTube Thumbnails also.
Note:- If you want to grab the images or YouTube thumbnails, then you should have “Site Feeds” set to Full. If you opt for the Media Thumbnail only, then the short feed will be used by default.
Thumbnail Dimensions – Size of the Thumbnail in pixels. The gadget doesn’t generate any Thumbnail. It just uses the media thumbnail,YouTube thumbnail , or any image in the post and scales it to the specified dimensions
Summary Length - If you have opted to display the post Summary, then you can control the length of the summary(in characters)
Post Meta Style – You can display the Post Date, Comment Count and a Read More Link.You can choose any combination of these three.
Font and Font Size– By Default, the container’s font and Font Size is inherited into the Gadget. But if you are using a 3rd party template, then these might not be properly inherited. In that case you can use this Option to over ride these parameters.
Extra Styling – Allows you to specify the position of the Thumbnail, and whether to underline the links or not.
Border Color – You can either option for No Border, or select one of the 140 available colors.
Link Color and Text Color – By default , the colors will be inherited from your Blog. If you want to override this , you can choose one out of the 140 different colors.
(The colors were provided in the Dropdown(and not as text fields) to tackle a problem with the API)
Read More Text – This field was intentionally added to help blogs which are not written in English. Initially i used “More »” as the Read more text without taking any user Input. Seeing this on a non- English Blog is a little awkward. So i added this new field.
Do you like this Article? Comment below to stay in touch with me. Kindly Share this Article with your friends if you like it.


